1. Primer
Primer is an important first step when painting on brick. It helps paint adhere to the surface and creates a consistent base for colour application. Brick can be porous and uneven, so a good primer helps prepare the wall before adding the design. I used Berger Triple Prep.
2. Old brushes
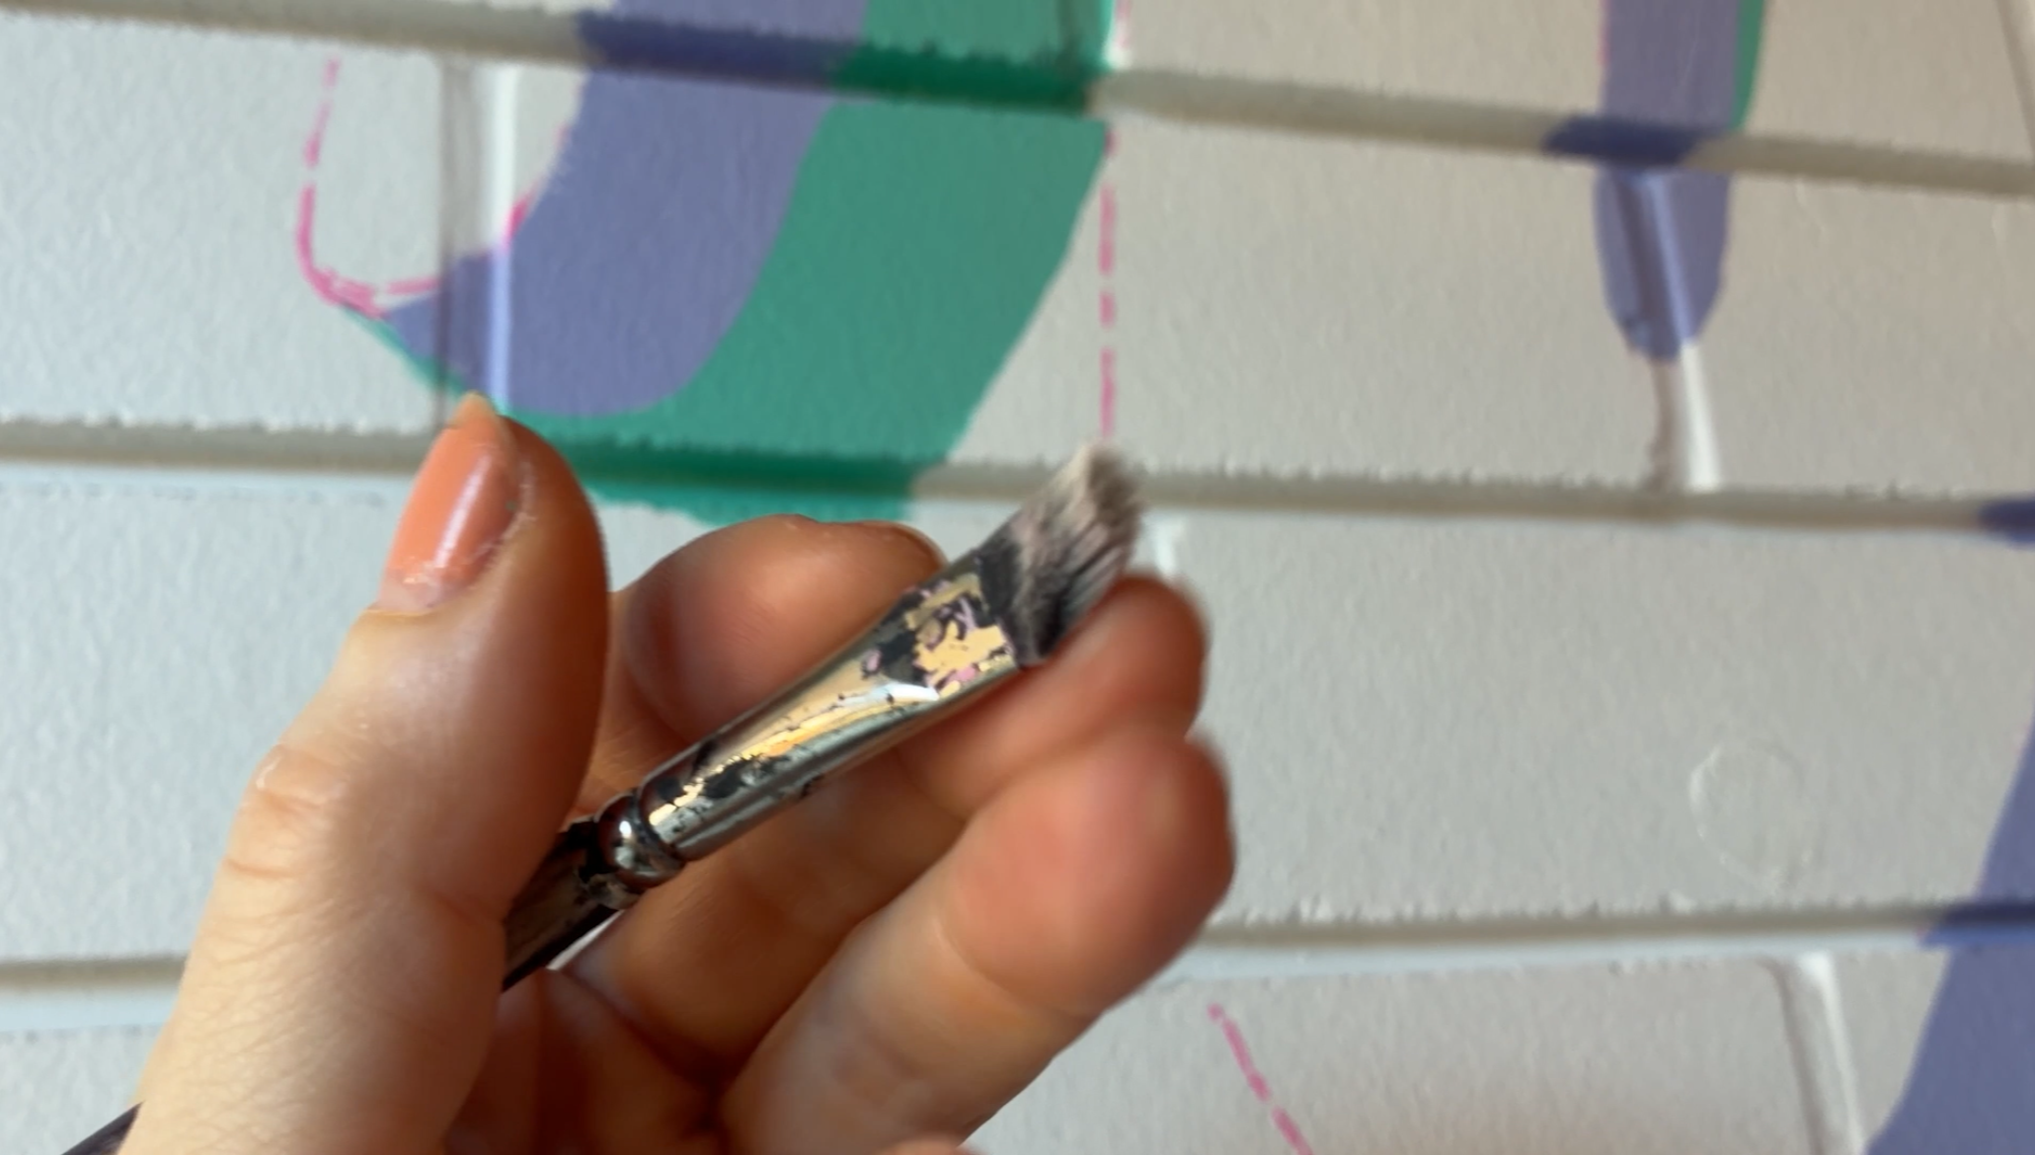
Keep your old brushes! They’re perfect for getting into the tricky gaps between bricks where a roller or large brush might miss. Bricks have lots of uneven surfaces, so having a few old brushes you don’t mind scuffing up makes filling the nooks and crannies much easier.
3. Resene paint
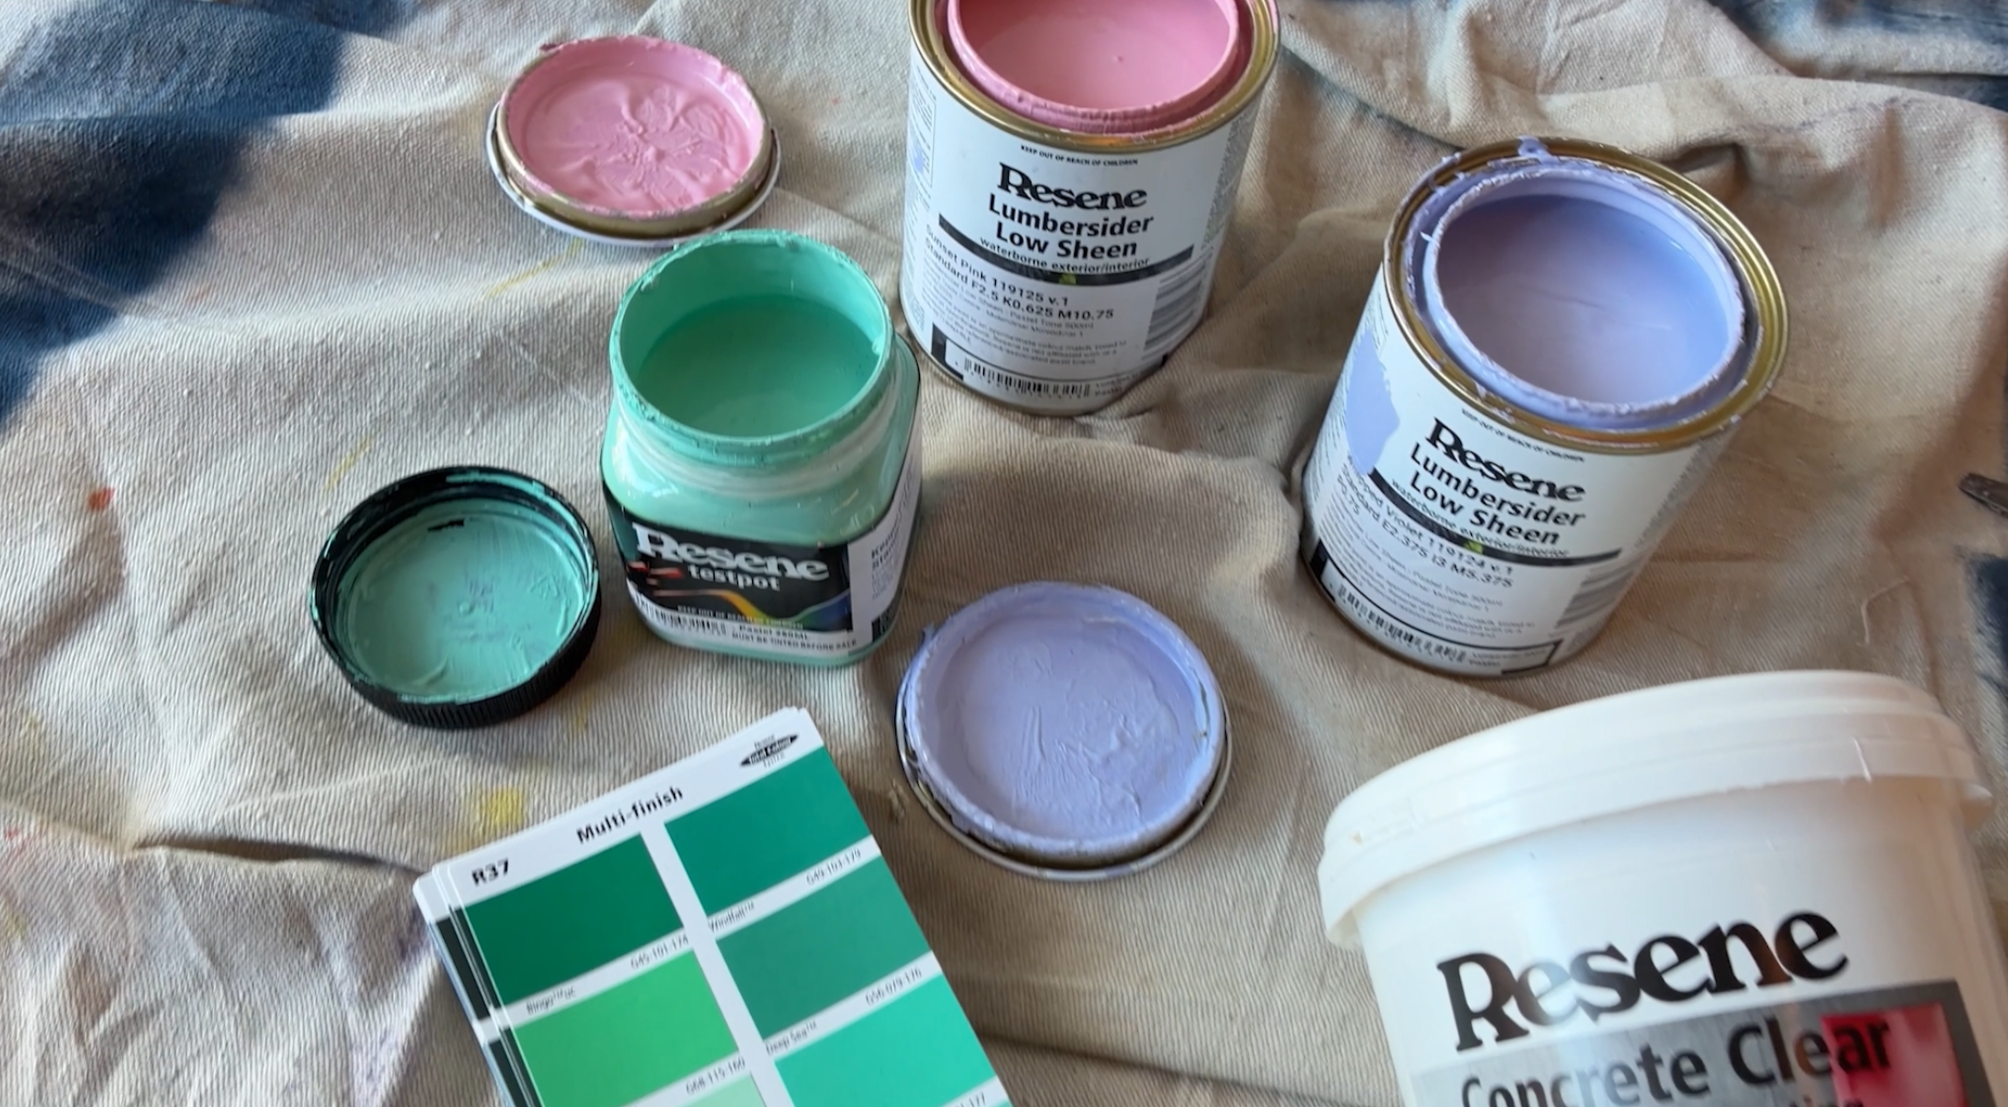
I used Resene paint for its excellent colour and opacity. When painting a mural, you want colours that really stand out, with enough coverage to create a solid, vibrant finish. Good-quality paint makes a noticeable difference, particularly when you're working across a textured brick surface.
4. Mahl stick
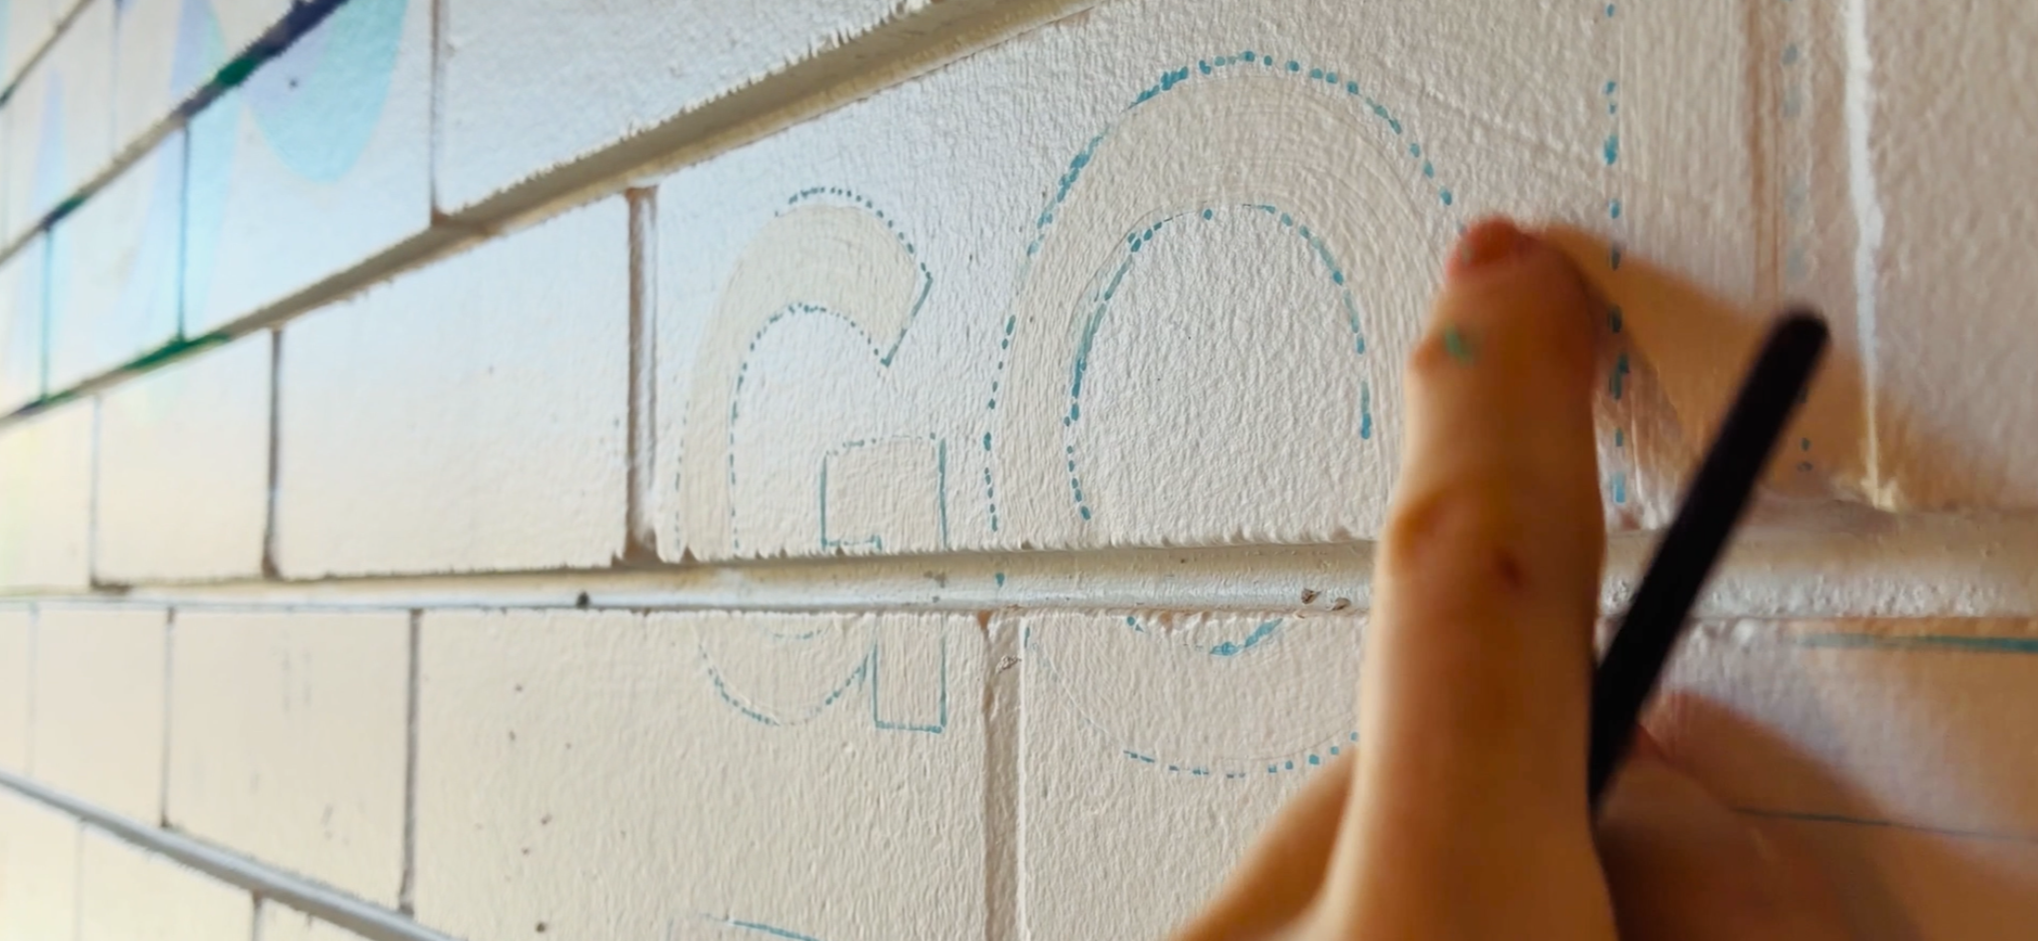
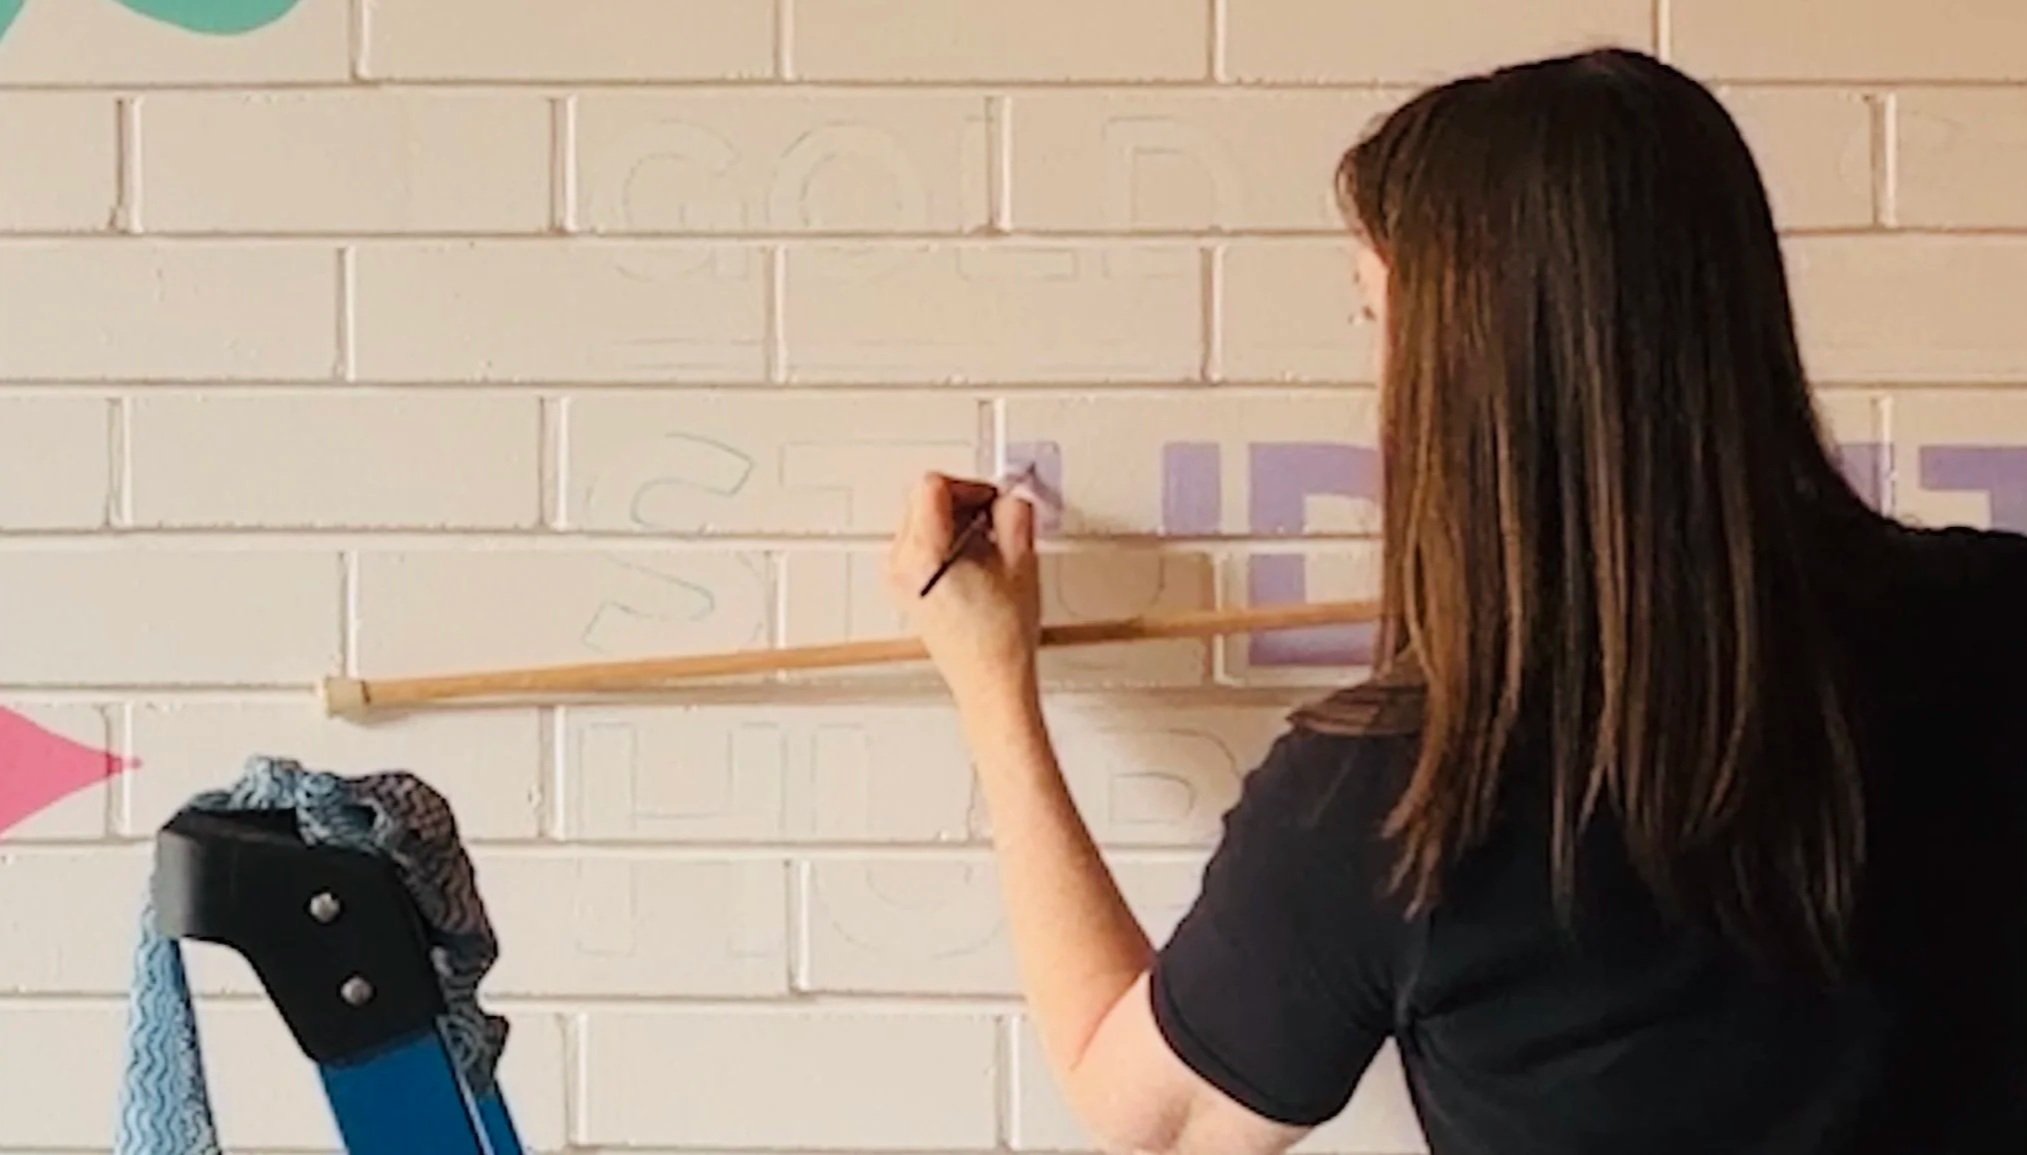
A mahl stick is a handy tool for anyone doing detailed signwriting. It provides steady support for your painting hand, helping to control the brush and achieve cleaner lines. For the detailed logo on this mural, it helped me keep my hand steady while working directly onto the brickwork.
5. Paper, scissors and tape
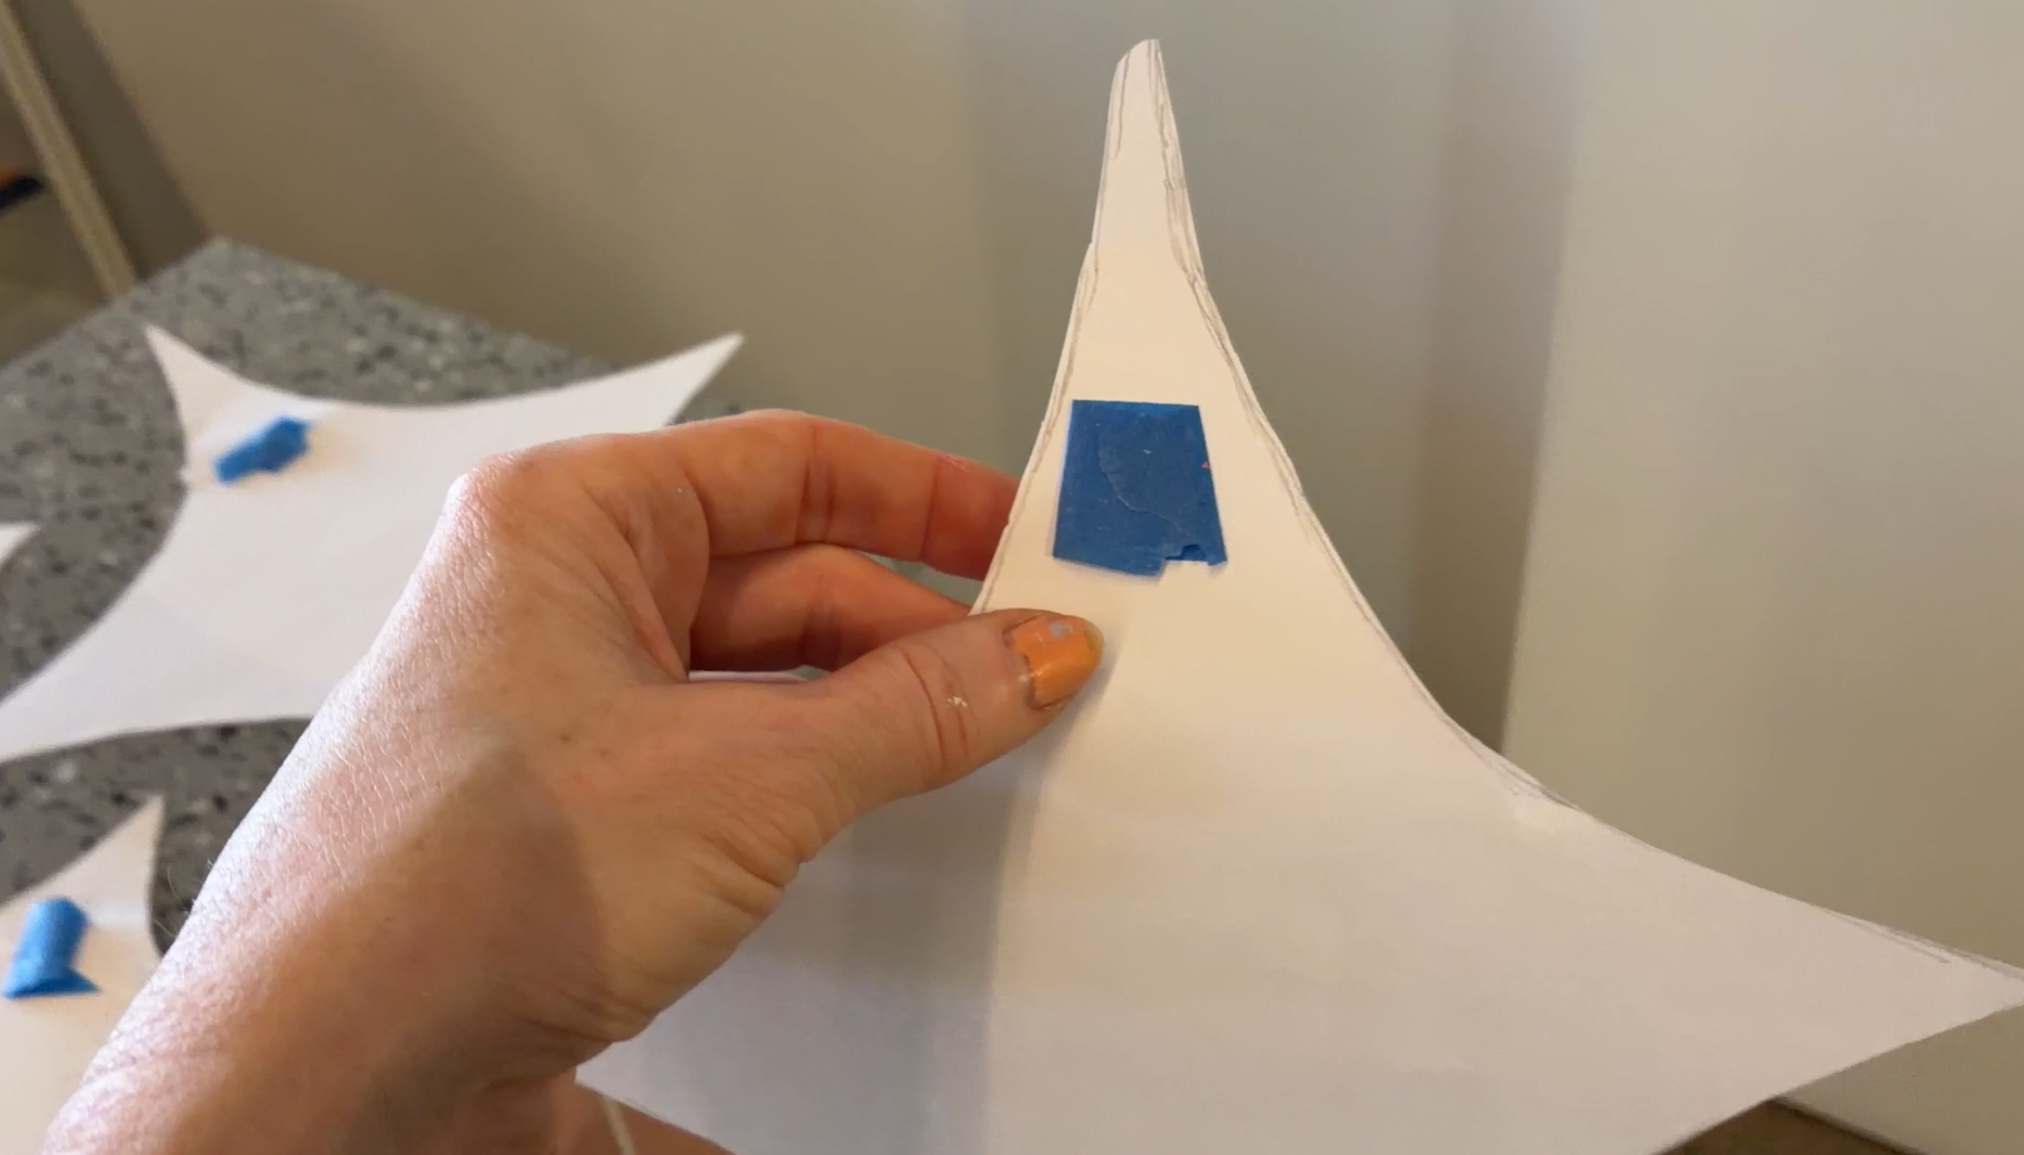
Paper, scissors and tape became essential planning tools for positing stars around the Welcome mural. I cut out paper stars, taped them to the wall and moved them around to test different placements before committing to paint. This gave the client a chance to decide exactly where they wanted each star to sit. When a client is particular about placement, mock-ups like these can save time repainting later.
6. Mizuno shoes
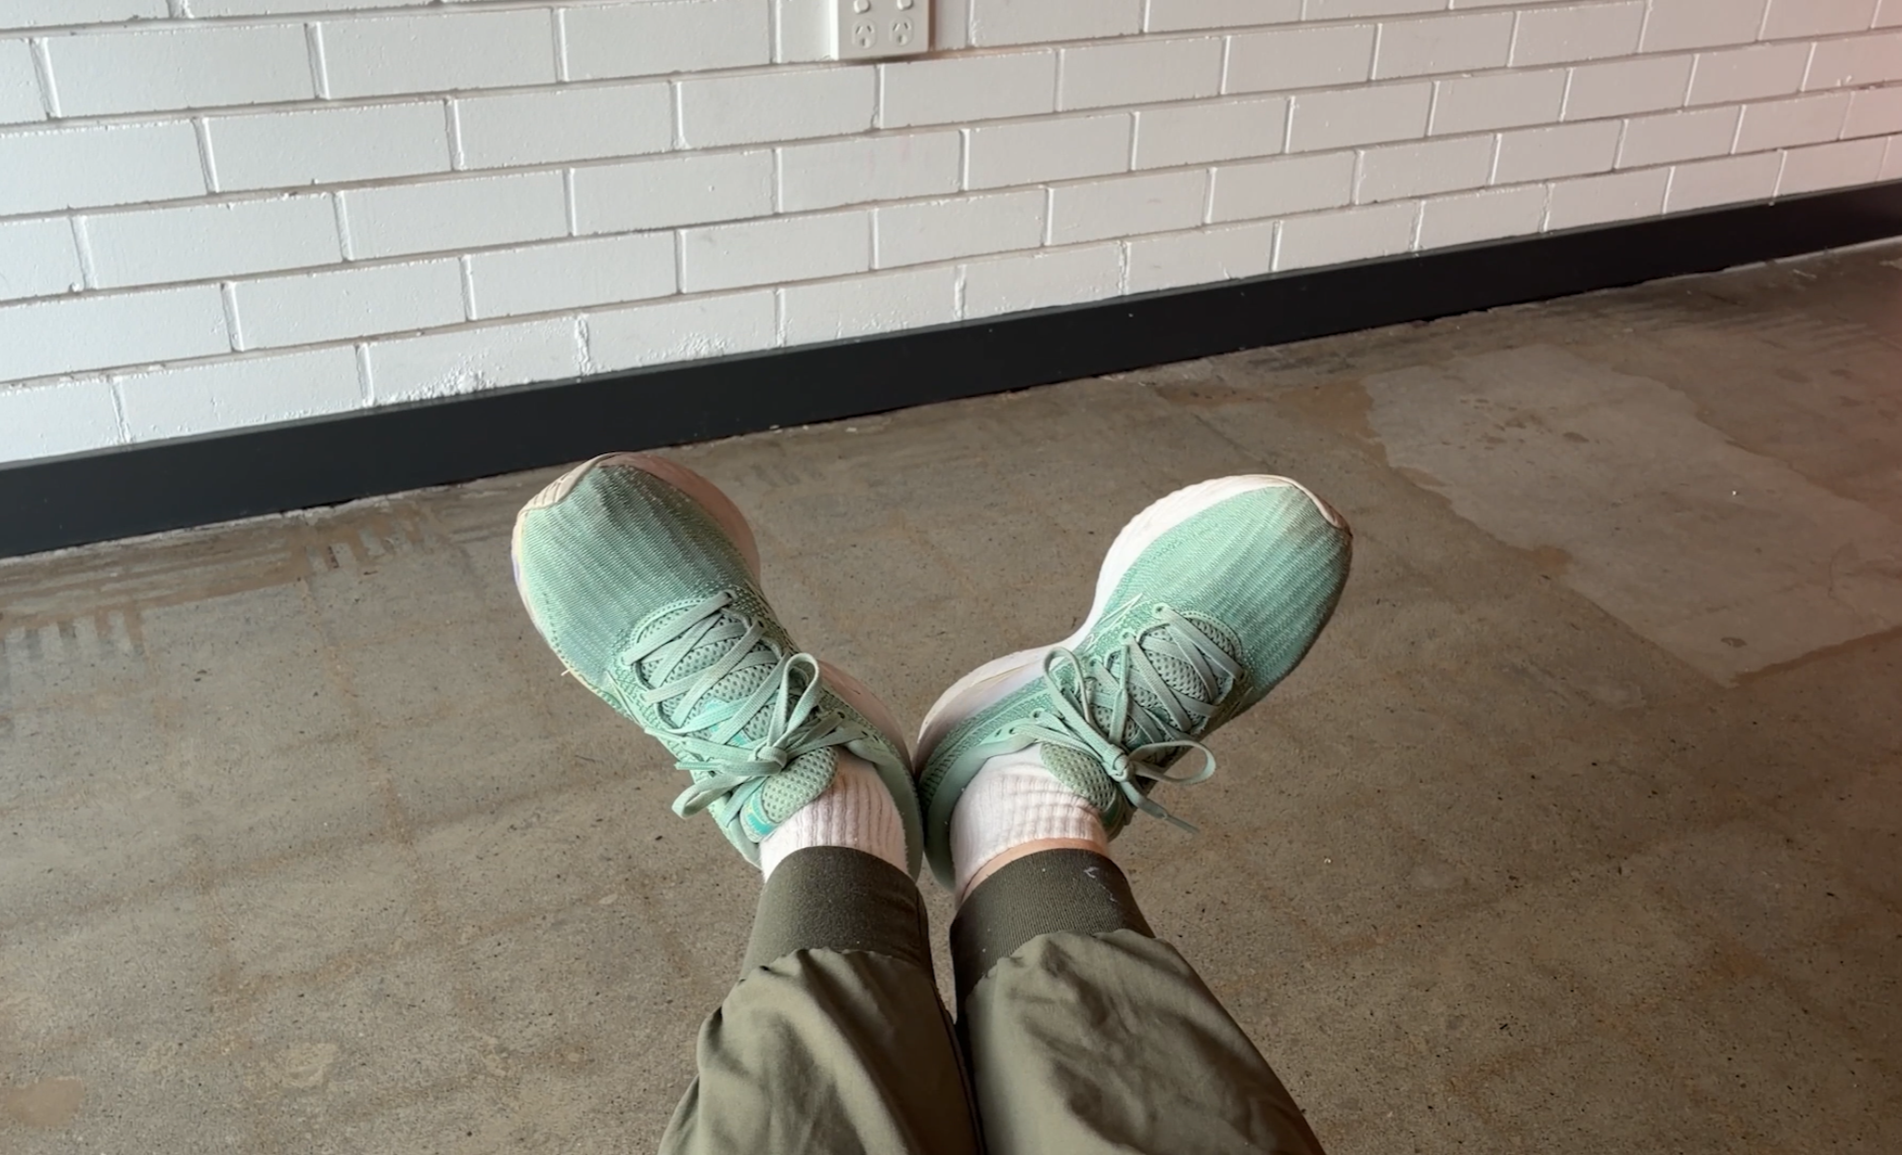
Comfortable shoes make a huge difference when you're spending hours on your feet. I find Mizuno shoes to be very comfortable because they suit my narrow feet, giving the support I need when standing for long periods. They are excellent for running, too!